Happy Thanksgiving! This is one of my favorite days of the year. Macy’s Thanksgiving Day Parade, football, food, family, shopping, and the start of the holiday season are just a few of my favorite things about this day.
For most people, Thanksgiving is all about turkey and trimmings, but it’s also all about the desserts. Judging by my Facebook and Instagram feeds, I think most people would agree. Get your stretchy pants ready because I’m finally about to share with you a Thanksgiving staple in my family, my award-winning Flutter Nutter Peanut Butter Candy Bar Pie.
Back in January of 2010, I saw a program on Food Network about the Crisco National Pie Championship held each year in Celebration, Florida. That’s the cute, quaint town right outside of Walt Disney World Resort so naturally, my ears perked up. The winners all got huge gift baskets. I wanted a gift basket. Seriously, that’s how this whole thing got started. After a little research, I learned the competition was in April and was open to everyone who could submit an original, not previously published, not previously submitted for other competitions, pie recipe. There was just one problem. I had never made a pie, much less developed my own recipe. That didn’t stop me, so I began experimenting with flavor combinations and different types of pies. After many failed attempts at made-from-scratch pie crusts and fillings, I quickly realized a no-bake pie was my best bet. After much experimentation, I finally came up with one I liked, and my Flutter Nutter Peanut Butter Candy Bar Pie was born.
The competition itself was really fun. I chose the bake on-site option, and I had so much fun talking to all the spectators and explaining what I was doing step-by-step, almost as though I was hosting my own show.

Me and my pie at the competition
I really didn’t think I had any chance of winning, so my goal was to have as much fun as possible, and I did!
The next day was the awards ceremony. When I saw all the lovely gift baskets lined up on stage, I remembered why I wanted to do this in the first place. I realized I really wanted to win. I can honestly say I was completely shocked when they called my pie as the first place winner of the peanut butter category. I got my gift basket! I also got a sweet cash prize to go along with it, but the gift basket! Be still my heart!

It’s a major award!
So, here it is. Now, I realize most food blogs give you a step-by-step explanation of how to do everything in the recipe before giving the recipe itself. Well, I’m not a food blogger, and truthfully, I usually just look at the photos and skip to the recipe anyway so that’s what I’m giving you.
I do want to toss in a little disclosure here first, though. As a previous winner in the Crisco National Pie Championship, this recipe is the property of me and the American Pie Council. It is published in America’s Best Pies, a cook book produced by the American Pie Council. So, publishing this recipe or producing it for remuneration (money) is prohibited without the written consent of the American Pie Council.
Now that we have that out of the way, on to the yummy stuff!
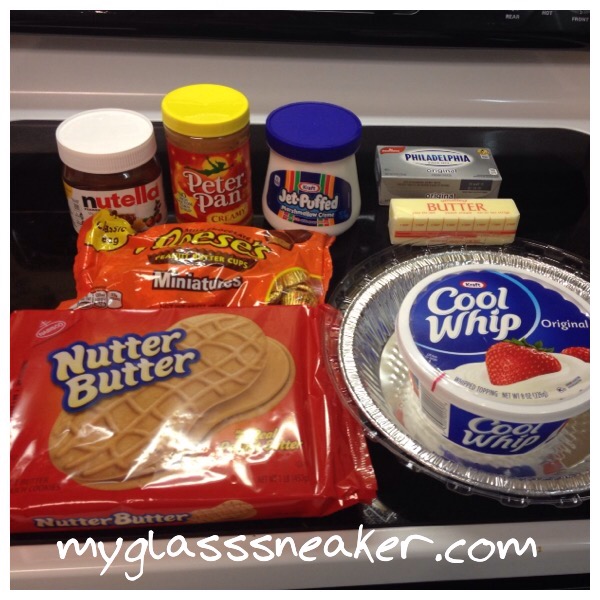
Really, could anything that starts out with this be bad? I think not!

Nutter Butter cookie crust
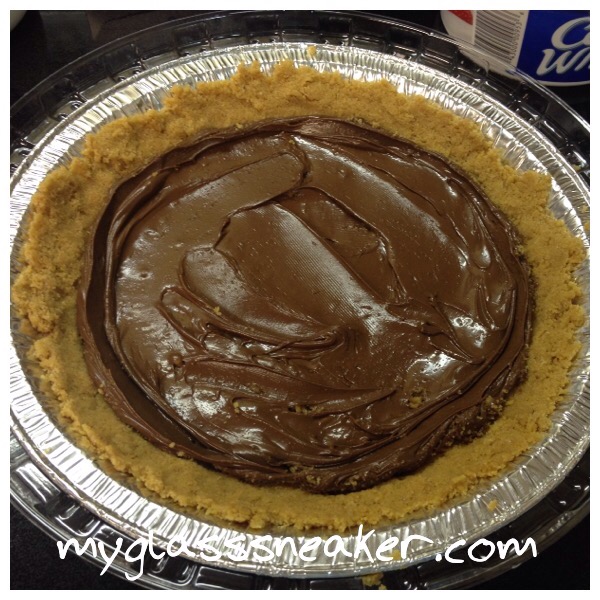
Next is the Nutella layer.

Chopped up Reese’s Peanut Butter Cups Miniatures go on top of the Nutella.
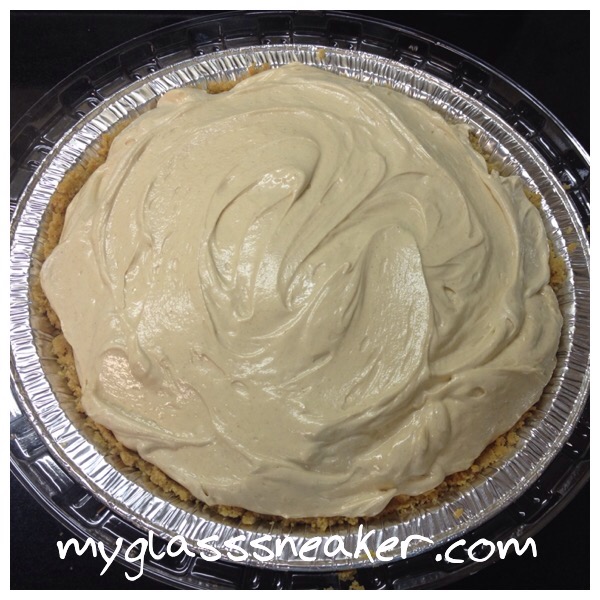
Yummy peanut butter mousse filling
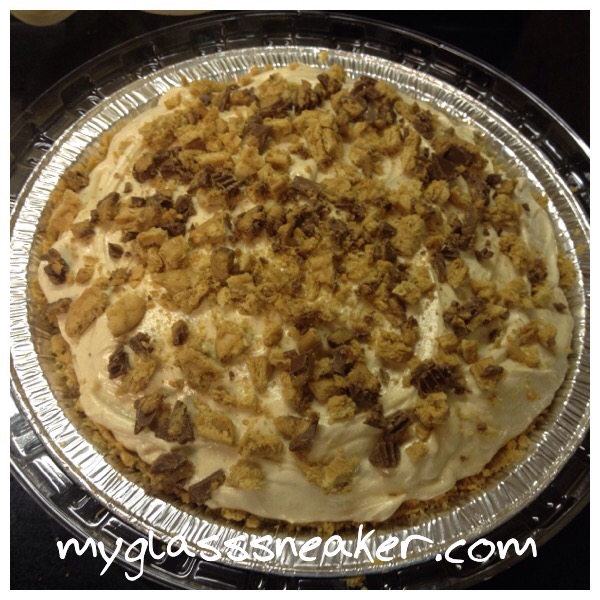
Finally, more Nutter Butters and Reese’s Peanut Butter Cup Miniatures get chopped up to garnish the pie.
Flutter Nutter Peanut Butter Candy Bar Pie
Ingredients
Crust
12 peanut butter sandwich cookies, such as Nutter Butters
1/4 cup granulated sugar
6 T butter, melted
Candy Bar Layer
1/2 cup chocolate hazelnut spread, such as Nutella
8 miniature peanut butter cups, coarsely chopped
Filling
1 8 oz package cream cheese
1 7 oz jar marshmallow cream
3/4 cup creamy peanut butter
1 8 oz container frozen whipped topping, thawed
Garnish
2 coarsely chopped peanut butter sandwich cookies, such as Nutter Butters
3 coarsely chopped miniature peanut butter cups
To Make Pie
For the crust, process the peanut butter sandwich cookies in a food processor until fine crumbs are formed. Add in melted butter and sugar and process until blended, about 30 seconds. The mixture will resemble wet sand. Press mixture into a 9 inch pie plate. For the candy bar layer, spread chocolate hazelnut spread on top of the crust and sprinkle with the coarsely chopped miniature peanut butter cups. For the filling, blend the cream cheese, marshmallow cream and peanut butter with an electric mixer until smooth. Add in the whipped topping and mix with an electric mixer until blended. Spoon the filling on top of the candy bar mixture and smooth out so that it is evenly distributed. Garnish by sprinkling the remaining coarsely chopped peanut butter sandwich cookies and miniature peanut butter cups. Chill for a minimum of 2 hours. Serves 10.
I hope everyone has a happy and safe Thanksgiving!
Follow @myglasssneaker on Twitter.
Follow myglasssneaker on Instagram.